A poster can look balanced on a screen and feel awkward once it is on the wall. The frame may crowd the artwork, leave too much empty space, or hide a narrow edge. Choosing the right Poster Frame starts with the print’s actual dimensions, not the size you estimate by eye. Measure its width and height on a flat surface, and note whether the measurements include a border. If you plan to use a mat, check both the frame’s outer size and the mat opening. That opening is often slightly smaller than the artwork, which helps hold the print in place. Small details matter.
This guide shares seven practical tips for matching a frame to your poster, your room, and the way you plan to display it. It covers standard sizes, custom frames, matting, orientation, frame depth, and how to check measurements before buying. A tape measure, a clear space on the floor, and the poster itself can prevent a frustrating return. Also consider where the frame will hang: a glossy cover near a bright window may catch reflections, while a heavier frame needs secure support. Even careful measuring can feel fussy, and product listings do not always explain usable opening sizes clearly. Pause and verify the specifications. The goal is a frame that protects the print, fits the wall, and lets the artwork remain the focus—not a choice based on guesswork alone.
A poster’s stated size usually refers to the paper, not the visible image.
Measure the sheet edge to edge, then check whether the artwork has a white border. That border can disappear beneath a frame’s lip. Small difference, big effect.
ISO 216:2007 defines standard A-series paper sizes:
A4 is 210 × 297 mm,
A3 is 297 × 420 mm, and
A2 is 420 × 594 mm.
These measurements help identify the print, but they do not include the frame or mat.
For a close fit, choose a frame with an opening that matches the poster’s paper dimensions. If adding a mat, match the frame to the mat’s outer size and the mat window to the artwork. A window slightly smaller than the print can hold it in place, though it may cover part of the image. Measure twice. Also check the frame’s listed dimensions: some refer to the opening, while others describe the outer edge. I still find this detail easy to overlook, especially with older prints whose edges are uneven. ISO 216 gives dependable paper measurements; the actual frame opening should always be verified with a ruler.

A frame should be chosen for the artwork’s actual outside dimensions, not its advertised size. Lay the print flat and measure its width and height at several points. Paper edges can be slightly uneven, and a trimmed corner may not form a perfect right angle. Record the largest measurements so the image does not catch on the frame lip. For reference, ISO 216:2007 allows trimmed paper-size tolerances of ±1.5 mm for dimensions up to 150 mm, ±2 mm from 150 to 600 mm, and ±3 mm above 600 mm. A print may not follow that standard, but it shows why small differences matter.
Tip: Measure twice, in millimetres. Check both edges. If the print is wavy, measure it gently without stretching; a tight fit can hide part of the image.
Next, decide whether the frame should cover the paper edge or reveal it. A mat opening is usually made slightly smaller than the artwork, helping hold the sheet in place while concealing rough cuts. But too much overlap can crop a signature or a fine border. I would mark the visible area on scrap paper before ordering; it is a simple check, though not a perfect substitute for a physical test fit. Keep the measured artwork size and the intended visible opening as separate figures, especially when edge variations are noticeable.
A mat changes the frame size you need. Measure the poster, then decide how much border should show. For an 18-by-24-inch poster, a 2-inch border on every side creates a mat measuring 22 by 28 inches. The frame’s inside opening must accommodate that outer mat size, not just the poster. Check the frame’s stated fit; its outside dimensions include the frame moulding.
The mat window should be slightly smaller than the artwork, so the edges stay covered. The Canadian Conservation Institute’s framing guidance recommends an overlap of about 3 mm per edge. For an 18-by-24-inch poster, that makes the window roughly 17.75 by 23.75 inches. Measure twice. Mat cutting and paper edges are not perfectly uniform, so treat those figures as a starting point, not a guarantee. A narrow overlap can hide a rough edge; too much may cover important lettering. I once misjudged a generous border and made a small print feel oddly lost. Check the printed area before ordering, especially when a poster has a border or image details close to its edges.
| Tip | What to Check | Example | Sizing Result |
|---|---|---|---|
| 1. Measure the poster itself | Measure the printed area from edge to edge, not the surrounding packaging or hanging hardware. | A poster measures 18 × 24 in (45.7 × 61 cm). | Look for a frame or mat opening intended to fit an 18 × 24 in print. |
| 2. Check whether the frame size means the artwork size | Frame listings commonly describe the size of the artwork the frame fits, rather than the frame's outside dimensions. | A frame labeled 18 × 24 in is generally intended for artwork measuring 18 × 24 in. | Check the product's fit dimensions and outside dimensions separately before purchasing. |
| 3. Decide whether to use a mat | A mat creates a visible border around the poster and can keep the print from touching the glazing. | Choose a mat with a 2 in (5.1 cm) border on every side. | A mat is optional; select one based on appearance and the frame's available opening. |
| 4. Recalculate the frame fit with a mat | Add twice the mat-border width to both the poster's width and height. | 18 × 24 in poster + 2 in on each side = 22 × 28 in outer mat size. | Choose a frame that fits a 22 × 28 in mat; confirm the mat's window is sized for the 18 × 24 in poster. |
| 5. Compare common poster and frame sizes | Standard sizes can make it easier to find a ready-made frame, but verify the actual print measurements. | Common poster dimensions include 11 × 17 in, 18 × 24 in, and 24 × 36 in. | Match the frame's stated artwork fit to the poster, or use a mat and select a larger frame fit. |
| 6. Allow for the mat window overlap | A mat window is often made slightly smaller than the print so its edge can hold the artwork in place. | For an 18 × 24 in poster, a window may overlap a small amount of the print edge. | Check that the overlap will not cover important text, borders, or image details. |
| 7. Measure the wall space and final outside size | The frame's outside dimensions are larger than its artwork fit and depend on the frame moulding. | A 22 × 28 in frame fit will have outside dimensions greater than 22 × 28 in. | Use the stated outside dimensions to confirm the framed poster will fit the intended wall area. |
Measurement note: 1 in = 2.54 cm. Frame and mat tolerances vary, so verify the listed fit, mat-window dimensions, and outside dimensions before ordering.
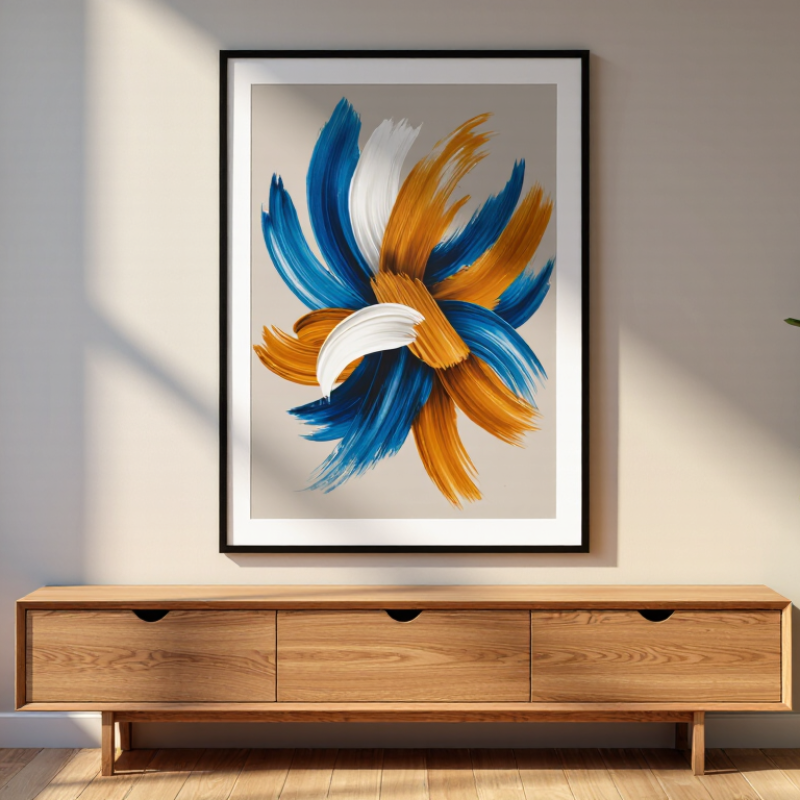
A frame should relate to the wall and nearby furniture, not just the poster. Over a sofa or console, aim for a frame width around two-thirds to three-quarters of the furniture’s width.
For example, above a 180-centimeter sofa, a frame about 120 to 135 centimeters wide usually feels connected without crowding the edges. Leave visible wall around it.
The exact balance depends on ceiling height, furniture depth, and whether other frames share the wall.
For a narrow wall, a vertical poster can echo the wall’s shape; a wide wall often suits a horizontal piece or a balanced pair. Keep the frame’s outer dimensions in mind, since a thick border can make a modest print feel oversized.
A useful reference point is the Art Basel and UBS Art Market Report 2024, which estimated global art sales at 65 billion dollars in 2023. That figure says nothing about ideal frame dimensions, so don’t treat market data as a sizing rule.
Measure the display area instead, then mark the frame outline with painter’s tape. Step back from the doorway. Too small? It happens. I still find that a taped outline can look different once the room is furnished, so check it in daylight and at night before ordering.
Poster size is only the starting point. Check the frame’s inside dimensions against the visible print area, not just its outer measurements. A mat can hide part of the poster, while a loose fit may let it shift. Measure the poster flat, including any uneven edges. Small differences matter.
Tips: Check frame depth before buying. A thick poster, backing board, and glazing must fit without pressure. Confirm that the included clips or brackets can hold the frame’s weight and suit your wall surface. Hardware can look sturdy in a package and still feel awkward during installation.
Before hanging, assemble the frame with the actual poster and backing. Check that corners close evenly and the print stays centered. Also compare the frame’s hanging points with your available wall space; a large frame may need more clearance than expected. I would not assume every listed size means the same thing across sellers. Recheck the measurements, especially if the poster has a border or rolled edges.